UNIT 305
Of The NVQ 2356-99
Preparing to Install Electrical Wiring Systems, Wiring Enclosures and Equipment
On this page we walk you through everything you need to know to get started – and complete – Unit 305 of your NVQ 2356-99.
What are the ‘Performance Objectives’?
The performance objectives are the criteria of the Electrical NVQ 3 which you are being assessed against. In order to successfully achieve this NVQ, you must meet the performance objective of EVERY unit.
How do I meet the performance objective of every unit of this NVQ?
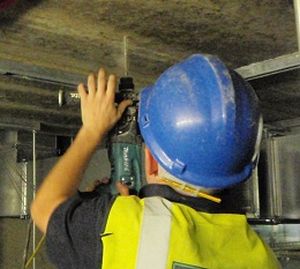
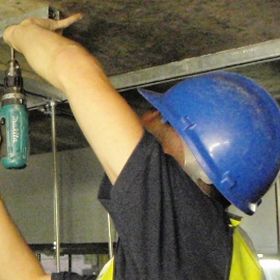
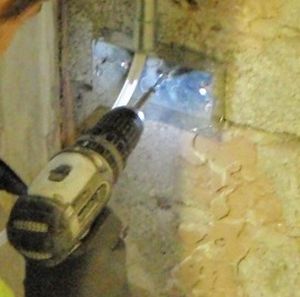
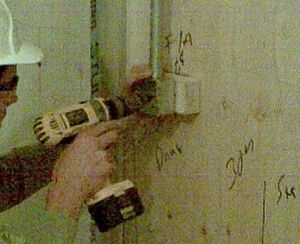
You will simply describe HOW you carried out your duties, WHAT you did and how they related to EACH performance objective. You need to be specific and relate the duties you carried out to the performance objective. You will also need to support this with appropriate photo/video evidence to support your Site Diary/Logbook.
What is Unit 305 wanting me to demonstrate?
This unit – Preparing to Install Electrical Wiring Systems, Wiring Enclosures and Equipment – is about ensuring that the wiring systems, wiring enclosures and equipment are suitable for the installation prior to the electrical installation work taking place. You need to show that you understand the application and the meaning of ‘fitness for purpose’ of wiring systems, wiring enclosures and equipment.
You will need to also demonstrate that you understand the importance of making sure that the intended installation matches the expectations of the relevant person. Also, you will need to prove that you have confirmed that the wiring systems, wiring enclosures and equipment you are going to install are suitable for the working environment where the installation will take place.
See an overview of this units performance objectives and examples of evidence below.
You personally need to be in as many photos / videos as possible.
Logbook/Site Diary: One of Three
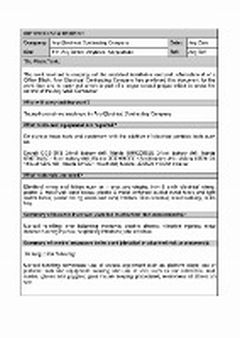
Insert Site address and brief description of the job you were carrying out.
For example, 120 Any Street, Anytown, Any Postcode. Installation of conduit and trunking for lighting. Start and finish date (date you started and finished particular task)
Unit 305 Performance Objective No 1:
You must confirm at the outset with the relevant person that your plans for the installation meet their expectations.
(You need to describe how you met EACH performance objective, in this case, performance objective number one, how you confirmed at the outset with the relevant person that your plans for the installation met their expectations).
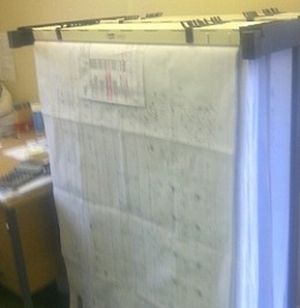
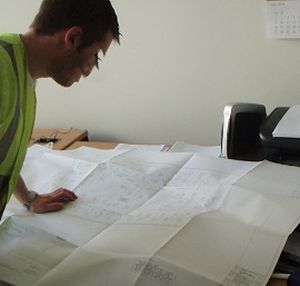
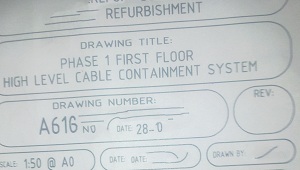
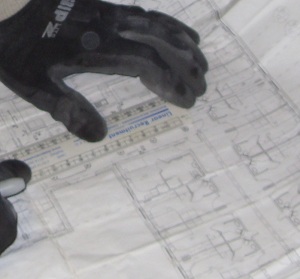
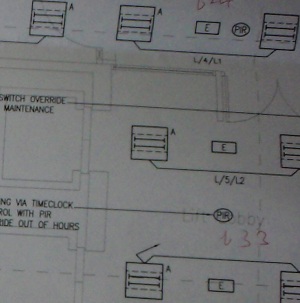
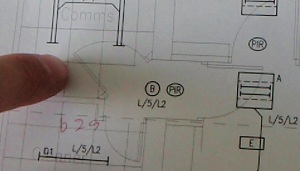
“This was an industrial installation and before I started work I was shown the location of the work by my supervisor. I referred to the drawings and specifications for this job and agreed upon the planned installation route with my supervisor and confirmed that this plan complied with BS7671. I also referring to the key and scales on drawings, identifying other site services such as ducting, water and gas.”
Unit 305 Performance Objective No 2:
You review the working environment and working conditions for any changes which might impact on the installation due to take place.
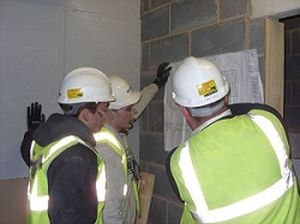
“I checked with my supervisor that there had been no alterations or variations in the job before we started and he confirmed that the drawing we had was up to date and that the planned installation route was acceptable. Whilst reviewing the working area we confirmed that the planned installation would not clash with any other site services by discussing our plans with the other trades.”
Unit 305 Performance Objective No 3:
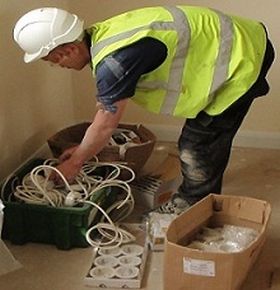
You have wiring systems, wiring enclosures and equipment of the right type, amount and size available to undertake the installation.
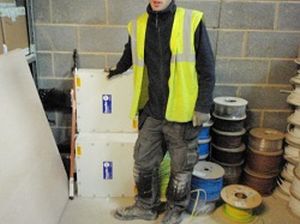
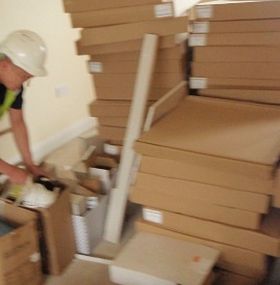
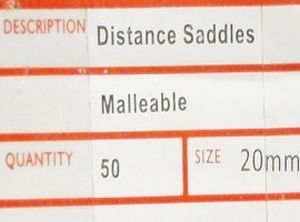
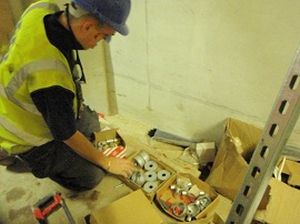
“When any materials were delivered to the site in the form of accessories, wiring enclosures and cable type I checked them all against the delivery note, the materials were also checked to see if any were broken or damaged, anything that was damaged or broken was returned and replaced also that the right quantities had been delivered as ordered. The materials were also checked against the drawings and specifications to see if they were the right type and size for this job.”
Unit 305 Performance Objective No 4:
You confirm that the selected wiring systems, wiring enclosures and equipment are compatible with all other available site services.
“The task I was involved with was the lighting and power circuits which were to be fed in galvanised steel conduit and steel trunking. Before I started work I checked against the drawings and specifications that all the materials, wiring enclosures and cable were the right, correct type for the job and that they were free from defect.
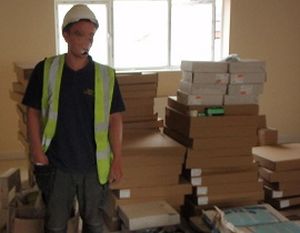
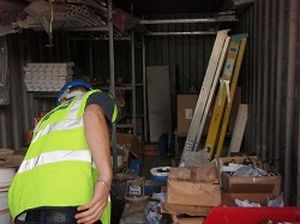
“I ensured that equipment remained free from defect by storing the equipment suitably where the materials and equipment could not be damaged. For example, all the lights were stored in a room that was lockable and where other bulky equipment would not be stored to minimise any damage that could occur. I agreed a program of work with my supervisor and discussed my planned installation with some of the other trades who were working within the area that I had planned to work.”
Unit 305 Performance Objective No 5:
You confirm that:- the wiring systems, the wiring enclosures, and the equipment, are fit for purpose and meet the needs of the installation.
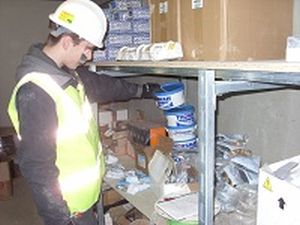
“I checked the equipment that had been delivered to ensure that this was the correct type and free from defect. I also checked the equipment that we already had in the stores to ensure that the material complied with the planned installation and that the material was fit for the purpose of this installation. All the materials were found to be in good condition and I advised the supervisor that we were able to go ahead with this installation without any delay.”
Unit 305 Performance Objective No 6:
You seek confirmation that there are no hazards which could harm yourself or other people within the building fabric prior to commencement of the installation.
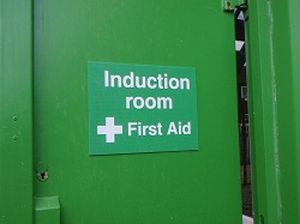
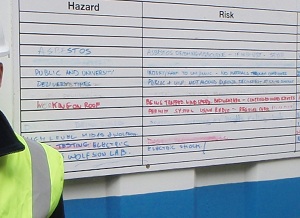
“I had been advised that the building fabric was safe to drill into. This issue was raised during my induction and I was advised that there were no hazards within the fabric of this building. Additionally, I regularly monitored the site risk assessment board that was prominently display and updated should any risk be highlighted by anyone on site. I noted that the site risk assessment did not note any concerns regarding the fabric of the building.”
Unit 305 Performance Objective No 7:
You use fixings which are fit for purpose and appropriate for the site structure and building fabric.
“When I fixed the enclosures and accessories I used the appropriate fixings, for example, when installing the conduit in and boxes in cavity walls I ensured that I secured noggins at appropriate spaces.
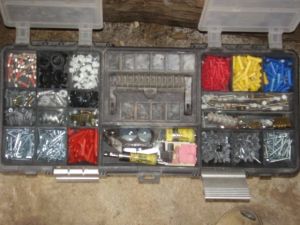
“I secured the two inch noggins using inch and half 8’s countersunk wood screws through the plasterboard. I secured the saddles and back boxes to the noggins using 1/2 inch wood screws which were counter sunk for the saddles to ensure flush fitting of the conduit and round head for the conduit through boxes etc and flush boxes for switches etc to ensure that the cables did not get damaged when drawing in the cables or making connections. All materials used were to BS-EN Standards.”
Unit 305 Performance Objectives No 8:
You follow all appropriate manufacturers’ instructions for wiring systems, wiring enclosures and equipment.
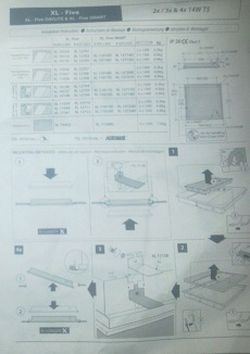
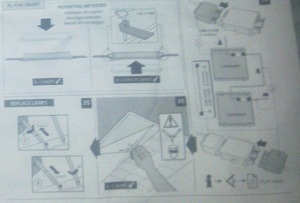
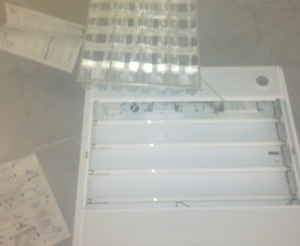
“Where necessary I referred to the manufacturer’s instructions relating to all equipment, wiring enclosures, cable and accessories as well as access equipment. This information was particularly useful when referring to the modular light fittings and how these were to be secured within the ceiling as they did not simply sit within the 600 by 600 ceiling grid but had to be secured from within the light fitting by using four brackets supplied by the manufacturer.
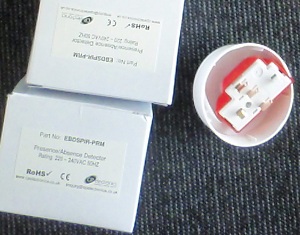
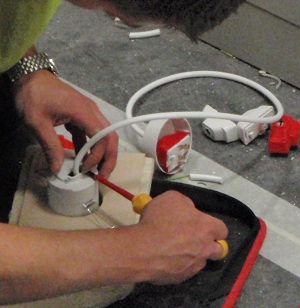
“I also referred to the manufacturer’s data for the motion detectors for that were to be installed for the lighting in the toilets, comms room and other areas according to the job spec. The detectors had to be permanently supplied so we ensured that these were connected using the four pin plug in ceiling roses that were normally used for emergency lighting. All manufacturers data etc was handed over to the supervisor to place within the O & M manual which we handed over to the client at the end of this job.”
Unit 305 Performance Objectives No 9:
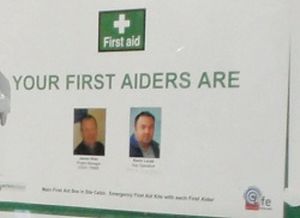
You follow workplace procedures in the event of injuries to self and others.
“Fortunately, no accidents or incidents occurred, however, if I had an accident I would first of all go straight to get first aid treatment, secondly inform my supervisor then thirdly I would make sure that the site accident book was correctly filled in with all the relevant details of the accident and the names and address of any witnesses.”
Key Criticals
Remember Key Criticals need to be covered OVER the three occasions and NOT in each logbook.
Working Conditions – Inside and / or Outside
You will simply need to describe the photo evidence that you have that cover the key criticals. On this occasion you would describe the working conditions and whether this was an inside or outside installation or a combination of both.
In this instance, we simply provide evidence that has already been presented above to show that it was an inside installation and that the equipment we were preparing to install was suitable for the environment. An example could be demonstrating that you used an IP 65 rated socket outlet for an outside installation, or galvanised conduit for outside installation etc..
Three Different Wiring Enclosures
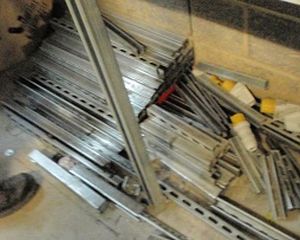
You need to choose from Cable Tray, Ducting, PVC Conduit, PVC Trunking, Steel Conduit and Steel Trunking.
Remember you need to choose three wiring enclosures over the three separate occasions and not necessarily in each log.
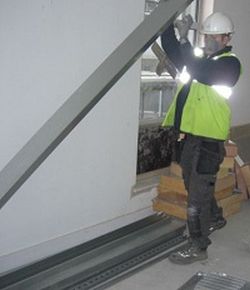
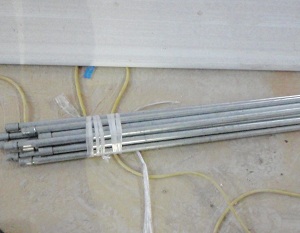
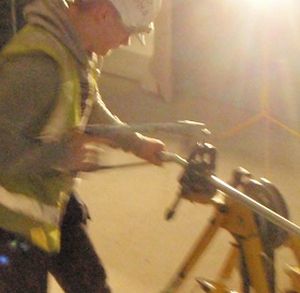
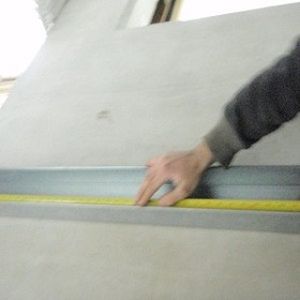
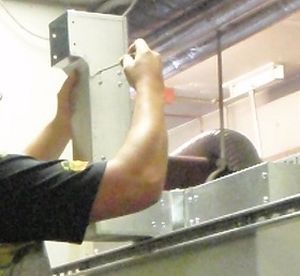
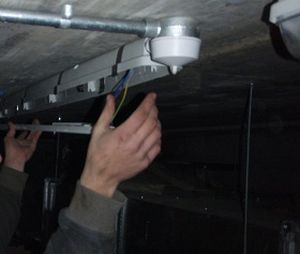
In this case we have prepared to install steel trunking and steel conduit so we have claimed two out of the minimum of three that we need. So, on our next occasion we will choose a different containment (PVC trunking for example) and this will cover the minimum requirements, meaning that our last occasion we do not need to worry what type of containment it is as we would have covered three already.
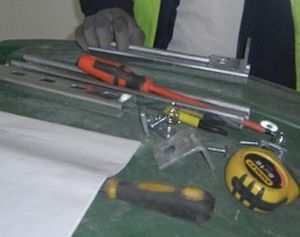
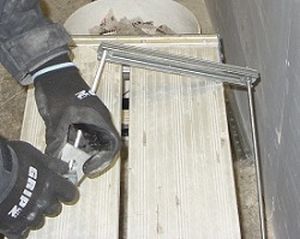
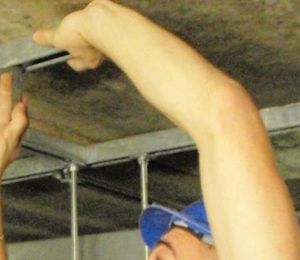
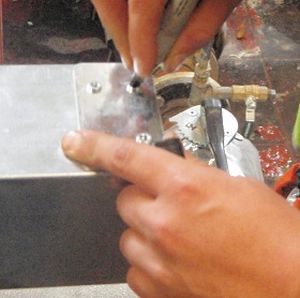
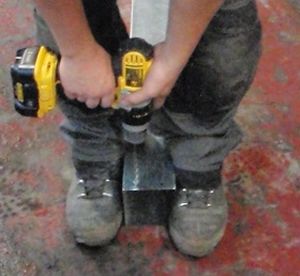
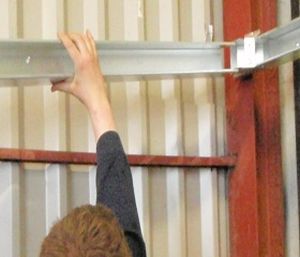
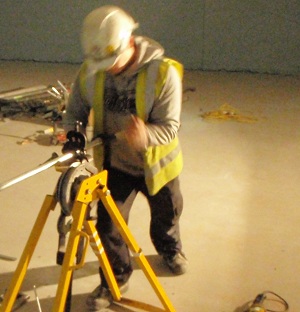
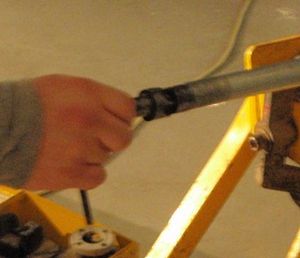
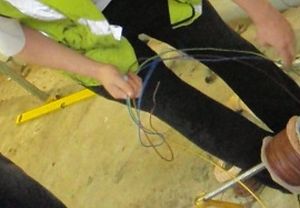
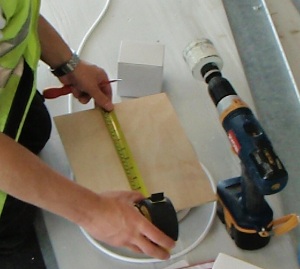
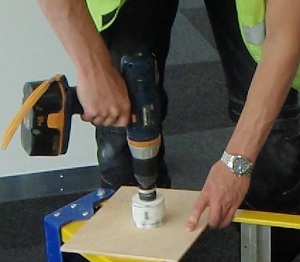
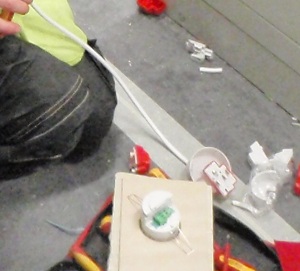
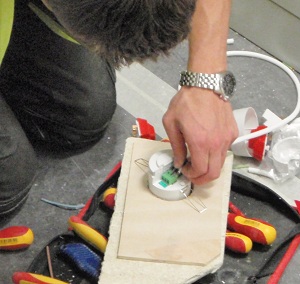
Again, describe the photo evidence that you have uploaded and explain its relevance to the unit. Here we simply describe the photographic or video evidence we have for our logbook or site diary. If we say we are preparing to install conduit etc we have to prove it with photo or video of us doing so.
Steel Trunking
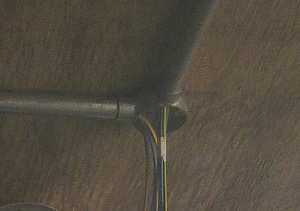
Steel Conduit
Three Different Wiring Systems
You need to choose from FP200, MICC, PVC Singles, PVC Twin or SWA.
Remember you need to choose three types of wiring systems over the three separate occasions and not necessarily in each log.
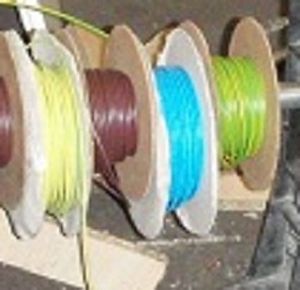
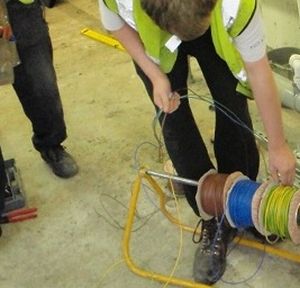
PVC Singles
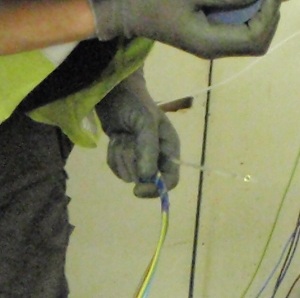
You will simply need to describe the photo evidence that you have that cover the key criticals. On this occasion you would describe how you prepared to install PVC singles and describe HOW cable was suitable for the environment in which it was being installed stating the method of installation and WHY you had chosen the size and rating of the cable.
Three Different Types of Equipment
You need to choose from Components and Accessories, Control Systems, Electrical Plant, Luminaires, Motors and Starters, Switchgear and Distribution Panels.
Remember you need to choose three types of equipment over the three separate occasions and not necessarily in each log.
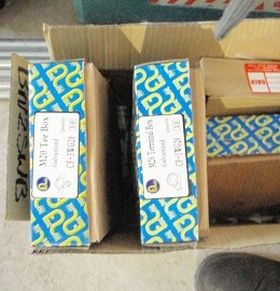
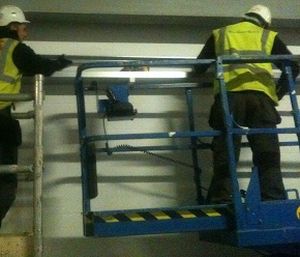
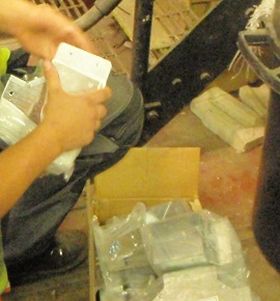
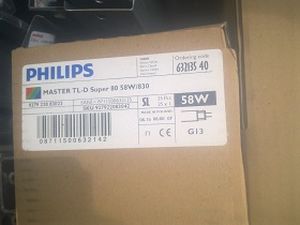
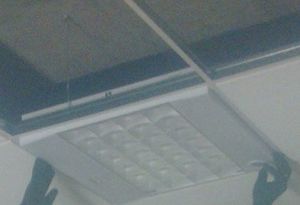
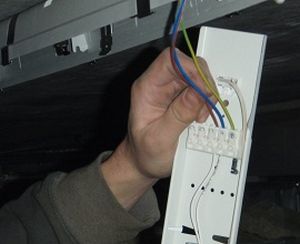
In this case we have evidence of preparing to install Components and Accessories and Luminaries.
Although the evidence actually shows us installing the items, remember that this unit is preparing to install so you do not need to have evidence of actually installing the items of equipment, just evidence of you preparing to install the items.
Again, we simply describe the evidence that we have collected and its relationship to the unit, preparing to install.
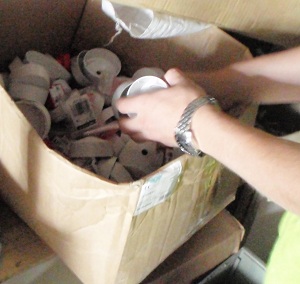
Components and Accessories
Additional Evidence
Witness Testimony
Your witness testimony should be from an occupationally competent person such as your chargehand or supervisor. They should be familiar with the national occupational standards to which you are being assessed against and will be contacted by your assessor to validate the testimony provided.
You should not rely on witness testimonies as your main source of evidence. These are provided to support your photo/video evidence and your written account within your logbook. Your main source of evidence will be your photos / videos, so make sure you collect relevant evidence that are appropriate and clearly show you undertaking the tasks that you have described.
Make Completing Your NVQ 2356-99 Quicker And Easier…
Your assessor can carry out a direct observation of you without the need to physically visit your site. Find out more…
Your assessor will help to build your portfolio for you using the information you provide. Find out more…
Still Have Questions About Your NVQ Level 3 Electrical?
Whether it's about your previous experience and qualifications in the industry, the difference between the NVQ 2356, 2346, 2347 or 2357, or you're unsure whether the on-site or online path may be best for you, then please do get in touch. We'd be happy to help if we can.
Email Us
enquiries@xstraining.com
Call Us
0800 170 0294
